Vuex is a state-management system following the Flux pattern. It lets us create a global store and a unidirectional data flow across our Vue 3 app.
While Vue 3’s reactivity library makes it easier to create our own data store solutions, Vuex is still a great tool since it comes with built-in DevTools, documentation, and a community to help troubleshoot.
In this article, we’ll learn how to…
- Add Vuex to our Vue 3 project
- Create a basic store
- Look at how to use Vuex in the Composition API
Let’s jump right in.
When do we need Vuex
Vuex is a great solution when your app requires complex shared data between components.
While many data-sharing options (props, provide/inject) are great for parent/child components, Vuex extracts our data out of the context of our components into its own store - allowing any component in our project to access it.
Also, Vuex comes with a built-in Vue DevTools extension, allowing us to see exactly when changes to our state are being made.
The Basics of Vuex
Vuex creates a one-way data flow, allowing us to predictably modify our data without worrying about keeping things in sync.
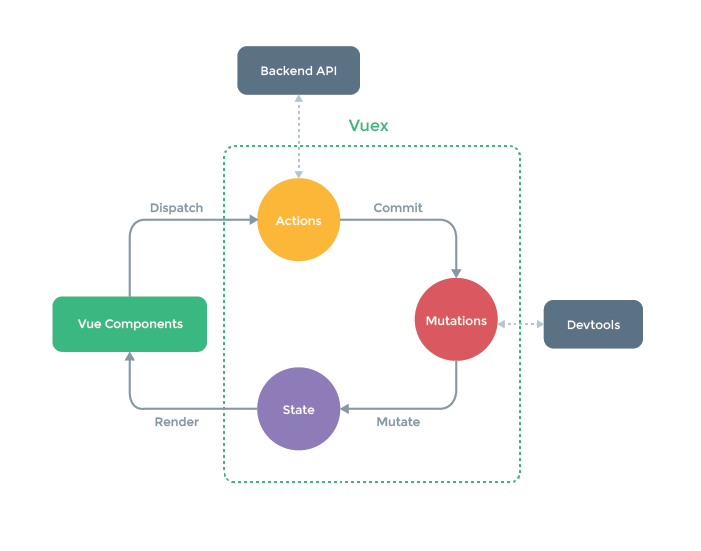
Let’s take a look at how Vuex fits into a Vue project - and there are 3 core components of a Vuex system.
- State - our app’s “source of truth”
- Mutations - ways to change our state (must by synchronous)
- Actions - ways to call mutations (can be asynchronous)
Here’s a diagram from the Vuex docs that might help.
Alright - let’s take a deeper dive into each one of these different sections and see how we can include this in our Vue apps.
Get Notified When Courses Launch
The first batch of courses is scheduled to come out soon:
- Fullstack Nuxt (Supabase, Drizzle, TypeScript)
- Writing Better Vue Composables
- Building a Nuxt Content Site
Be the first to know when courses drop (and maybe even get early access) by joining the waitlist.
Adding Vuex to your Vue 3 Project
To install Vuex into our projects, let’s run npm install vuex@next
And then to add to our app, let’s go to main.js, create our store, and tell our app to use it.
import { createApp } from "vue";
import { createStore } from "vuex";
// Create a new store instance or import from module.
const store = createStore({
  /* state, actions, mutations */
});
const app = createApp();
app.use(store);
app.mount("#app");
Great - now we’re all set up to build our store.
Vuex State
The first thing we want to do is give our Vuex store a state. And Vuex uses a single state tree - meaning that a single object serves as our app's source of truth.
import { createApp } from "vue";
import { createStore } from "vuex";
const store = createStore({
  state: {
    count: 0,
  },
});
const app = createApp();
app.use(store);
app.mount("#app");
Access Vuex State - Options API
Then, inside any component of our app, we can access our state through our Vuex store.
<script>
export default {
  mounted() {
    console.log(this.$store.state.count) // this.$store
  },
}
</script>
Once we have access to our store, we can access our state, but in order to maintain reactivity, we want to use a computed property to do this.
<script>
export default {
  computed: {
    count() {
      return this.$store.state.count
    },
  },
}
</script>
<template>{{ count }}</template>
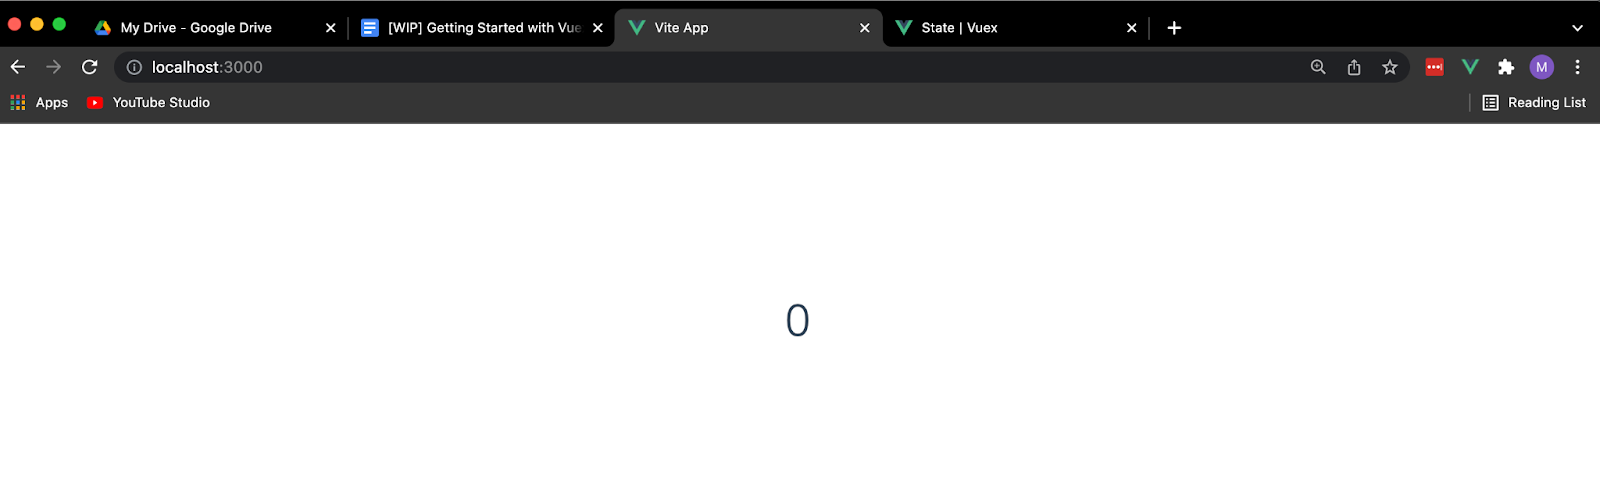
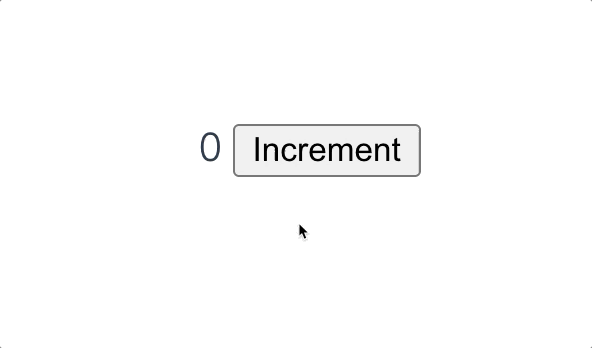
Fantastic - if we look at our page now, we’ll see our component properly pulling in our value through Vuex.
Using Vuex mapState
So we have to create a computed property for each piece of state that we want to use in our component. This can get tedious but luckily, Vuex gives us a mapState helper that can save us some time.
We can give it either a string array with the state properties we want or an object where we perform some custom mappings.
<script>
import { mapState } from 'vuex'
export default {
  computed: mapState({
    count: 'count',
    // OR
    count: (state) => state.count,
    // OR IF WE NEED ACCESS TO `this`
    countPlusMultiplier(state) {
      return state.count + this.multiple
    },
  }),
}
</script>
Access Vuex State - Composition API
We can follow these same steps (access our store, create a computed property) to access our Vuex state using Vue 3’s Composition API.
In the Composition API, we can use useStore from Vuex to do this.
<script setup>
import { computed } from 'vue'
import { useStore } from 'vuex'
const store = useStore()
const count = computed(() => store.state.count)
</script>
<template>{{ count }}</template>
Using Vuex Helpers in the Composition API
One thing to note is that using the different Vuex mappers gets a little tricky when we’re working with the Composition API (which I prefer to). Here’s a great package that helps out with this.
We can install it with npm install vuex-composition-helpers@next (next for Vue 3) and then map our state using the useState helper. This takes an array of property names that we want from our Vuex state and returns and object with all of these values as reactive computed properties.
<script setup>
import { useActions, useState } from 'vuex-composition-helpers/dist'

const { count } = useState(['count'])
</script>

<template>{{ count }}</template>
Alright, so we have access to our state from our component, but what if we wanted to change that?
Vuex Mutations
In Vuex, mutations are the only way to make changes to our state. Think of these like events where we register a function handler with a string.
Importantly, a mutation must be synchronous!!! Because when we use DevTools, we want to track a before and after screenshot of our data. This is impossible if our mutation is happening asynchronously.
A Vuex mutation can take 2 arguments:
- The current Vuex state
- An optional payload that we can use to pass data to our mutation
const store = createStore({
  state: {
    count: "",
  },
  mutations: {
    INCREMENT_COUNT(state, payload) {
      state.count += payload;
    },
  },
});
Then, we can trigger this mutation handler from anywhere in our app to update our state. We cannot call the mutations directly.
There are two ways to trigger mutations, we can either use a two argument (string, payload) format or a single argument where we define the type of mutation in the object-style commit.
// Option 1
store.commit('INCREMENT_COUNT', 5)
// Option 2
store.commit({
  type: 'INCREMENT_COUNT',
  amount: 5,
})
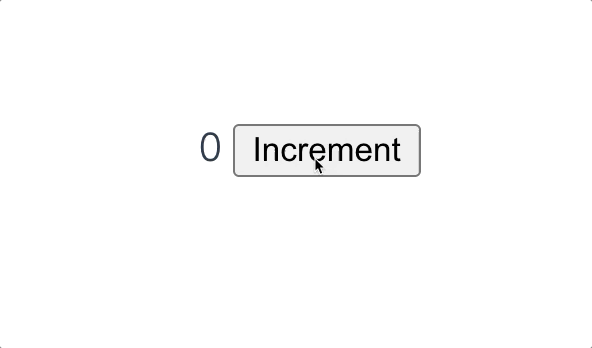
Here’s what committing mutations looks like calling store.commit.
<template>
  {{ count }}
  <button @click="store.commit('INCREMENT_COUNT', 1)">Increment</button>
</template>
So whenever our button is clicked, we want to trigger INCREMENT_COUNT and increase the value of state by our payload.
Mapping Vuex Mutations - Options API
To trigger Vuex mutations, we want to call store.commit, but a great practice is to map your mutations to component methods using mapMutations that work similar to mapState that we saw with state.
<script>
import { mapMutations } from 'vuex'
export default {
  computed: {
    count() {
      return this.$store.state.count
    },
  },
  methods: mapMutations(['INCREMENT_COUNT']),
}
</script>
<template>
  {{ count }}
  <button @click="INCREMENT_COUNT(1)">Increment</button>
</template>
Mapping Vuex Mutations - Composition API
But we can also use our Vuex Composition Helpers library here too. An important note is that similar to useState, useMutations accepts an array of key Strings and returns an object containing all of the functions that we specified.
We can use object destructuring with the exact name of our mutation to access the mutations from our store.
<script setup>
import { useMutations, useState } from 'vuex-composition-helpers/dist'
const { count } = useState(['count'])
const { INCREMENT_COUNT } = useMutations(['INCREMENT_COUNT'])
console.log(useMutations)
</script>
<template>
  {{ count }} <button @click="INCREMENT_COUNT(1)">Increment</button>
</template>
Vuex Actions
Vuex actions are similar to mutations except they don't directly mutate the state, instead they commit mutations.
These are necessary because mutations must be synchronous. However, in actions, we can perform asynchronous operations (like API calls) and then mutate the state afterwards using mutations.
An action takes two properties:
- Context - which contains the details of our store
- Payload - where we can pass data
const store = createStore({
  state: {
    count: 0,
  },
  mutations: {
    INCREMENT_COUNT(state, payload) {
      state.count += payload;
    },
  },
  actions: {
    incrementCount(context, payload) {
      context.commit("INCREMENT_COUNT", payload);
    },
  },
});
Vuex actions can be triggered using store.dispatch("actionName", payload).
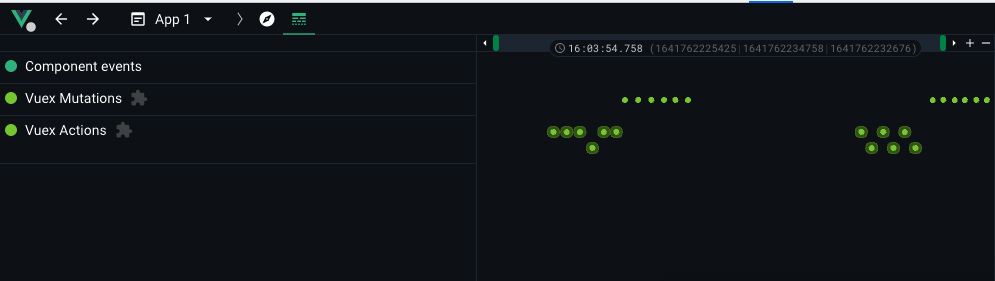
If we take a look at Vue dev tools, we get a good idea of the difference between actions and mutations.

As we can see, actions log both their start and end times, while mutations are logged as singular events.
This is because although actions may be overlapping (due to API response times, etc), mutations are synchronous so we’re guaranteed to know the exact state before and after a mutation.
So, if we were to mimic an asynchronous method with a setTimeout, our app will still work as intended will only one mutation happening at a time.
const store = createStore({
  // ...
  actions: {
    incrementCount(context, payload) {
      setTimeout(() => {
        context.commit("INCREMENT_COUNT", payload);
      }, 1000);
    },
  },
  // ...
});
Mapping Vuex Actions
I think you’re starting to get the drill here based on how we mapped our state and mutations, so I’ll keep it short.
In the Options API, we can use mapActions.
<script>
import { mapActions } from 'vuex'
export default {
  computed: {
    count() {
      return this.$store.state.count
    },
  },
  methods: mapActions(['incrementCount']),
}
</script>
<template>
  {{ count }}
  <button @click="incrementCount(1)">Increment</button>
</template>
And in the Composition API, we can use useActions.
<script setup>
import { useActions, useState } from 'vuex-composition-helpers/dist'
const { count } = useState(['count'])
const { incrementCount } = useActions(['incrementCount'])
</script>
<template>
  {{ count }} <button @click="incrementCount(1)">Increment</button>
</template>
Vuex Getters
The final core piece of Vuex is getters.
We can think of Vuex Getters as computed properties within our store.
Getters allow us to derive a value from our Vuex state. This is useful for creating reusable properties that can be used across your entire app.
They receive two arguments
state- which we can use to derive our valuegetters- other getters inside of our store
js{}[main.js]
We can then access this getter in the rest of our app wherever we have access to our store.
<script>
export default {
  computed: {
    doubleCountPlusOne() {
      return this.$store.getters.doubleCountPlusOne
    },
  },
  methods: mapActions(['incrementCount']),
}
</script>
Getters can also return a function that takes any sort of argument. This is useful when we want to query/filter based on a specific value. For example, we need to see if count is greater than 10.
const store = createStore({
  getters: {
    countOverValue: (state) => (val) => {
      return state.count > val;
  }
});
Mapping our Vuex Getters
Similar to state, we can map our getters into a component's local computed properties.
In the Options API…
<script>
import { mapActions, mapGetters } from 'vuex'
export default {
  computed: mapGetters(['doubleCountPlusOne']),
  methods: mapActions(['incrementCount']),
}
</script>
<template>
  {{ doubleCountPlusOne }}
  <button @click="incrementCount(1)">Increment</button>
</template>
And in the Composition API…
<script setup>
import { useActions, useGetters } from 'vuex-composition-helpers/dist'
const { doubleCountPlusOne } = useGetters(['doubleCountPlusOne'])
const { incrementCount } = useActions(['incrementCount'])
</script>
<template>
  {{ doubleCountPlusOne }}
  <button @click="incrementCount(1)">Increment</button>
</template>
Wrapping Up
Although this is by no means a comprehensive list of all the features available in Vuex, it’s a great start to complex state management in Vue 3.
I highly recommend reading over the Vuex 4 (which is the release for Vue 3) documentation to learn more about the fundamentals behind Vuex.
But I hope this helped, and happy coding!