Vue Router transitions are a quick and easy way to add some flair to Vue app. They allow you to add smooth animations/transitions between different pages of your app.
When used correctly, they can enhance the user experience by making your app feel more modern and professional.
In this tutorial, we’ll take a look at the basics of using Vue Router transitions and then we’ll cover a couple basic examples to give you some inspiration on where to start.
Here’s one of the four page transitions that we’ll be creating.
Alright – enough talk. Let’s jump right in.
Adding Vue Router Transitions to Your App
Typically, your Vue Router setup will look like this
<template>
  <router-view />
</template>
In old versions of Vue Router, we could simply wrap <router-view> with the <transition> component.
However, in newer versions of Vue Router, we have to use the v-slot to destructure our props and pass them to our inner slot. This slow will contain a dynamic component surrounded by a transition component.
<template>
  <router-view v-slot="{ Component }">
    <transition>
      <component :is="Component" />
    </transition>
  </router-view>
</template>
Different Transitions for Each Route
By default, wrapping <component> with <transition> will add the same transition across every route of your app.
There are two different ways that we can customize transitions for each route.
Moving Transition into Individual Components
First, instead of wrapping our dynamic component with a transition component, we can move <transition> into each individual component. Something like this:
<template>
  <transition>
    <div class="wrapper">
      <!-- -->
    </div>
  </transition>
</template>
And so on for each route that we want to have a transition. This way we can customize each route by changing the name of the transition.
Dynamic Transitions Using v-bind
Our other option is to bind the name of our transition to a variable. Then, we can dynamically change this variable depending on our rotes.
Here’s the example from the Vue Router documentation. It uses a watcher on the current route to dynamically set the transitionName variable.
<script>
export default {
  watch: {
    $route(to, from) {
      const toDepth = to.path.split('/').length
      const fromDepth = from.path.split('/').length
      this.transitionName = toDepth < fromDepth ? 'slide-right' : 'slide-left'
    },
  },
}
</script>
<template>
  <transition :name="transitionName">
    <component :is="Component" />
  </transition>
</template>
Now that we know the basics of Vue Router transitions, let’s take a look at some really awesome examples.
Get Notified When Courses Launch
The first batch of courses is scheduled to come out soon:
- Fullstack Nuxt (Supabase, Drizzle, TypeScript)
- Writing Better Vue Composables
- Building a Nuxt Content Site
Be the first to know when courses drop (and maybe even get early access) by joining the waitlist.
Fade Vue Router Transitions
Adding a fade page transition is probably one of the most straightforward things we can add to our Vue app.
We can achieve this effect by changing the opacity of our elements.
First, let’s create our Vue Router transition with a name of fade. Another thing to notice is that we set the mode of our transition to out-in.
There are 3 different modes of transitions:
default– the enter and leave transitions happen simultaneouslyin-out– new element transitions in first. Then, the current element transitions out.out-in– current element transitions out first. Then, the new element transitions in.
For our new element to smoothly fade in, we need the current element gone before we start the new transition. So we must use mode="out-in".
<template>
  <router-view v-slot="{ Component }">
    <transition name="fade" mode="out-in">
      <component :is="Component" />
    </transition>
  </router-view>
</template>
<transition> gives us several CSS classes that are dynamically added/removed during the animation cycle.
There are 6 different transition classes (3 for enter, 3 for leaving).
v-enter-from/v-leave-from: start state of the transition; removed once transition startsv-enter-active/v-leave-active: active state of the transitionv-enter-to/v-leave-to: end state of the transition
Note: these are the default names when you give your transition a name attribute the format of the class is name-enter-from, name-enter-active, and so on.
Our fade transition will have classes named like fade-enter-from.
We want our enter and leave states to have an opacity of 0. Then, when our transition is active, we want the opacity to animate.
We don’t even have to set opacity to 1 because the fade-enter-from and fade-leave-to classes are removed during the animation. This will cause our element to animate to the default opacity of 1 all by itself!
.fade-enter-active,
.fade-leave-active {
  transition: opacity 0.5s ease;
}

.fade-enter-from,
.fade-leave-to {
  opacity: 0;
}
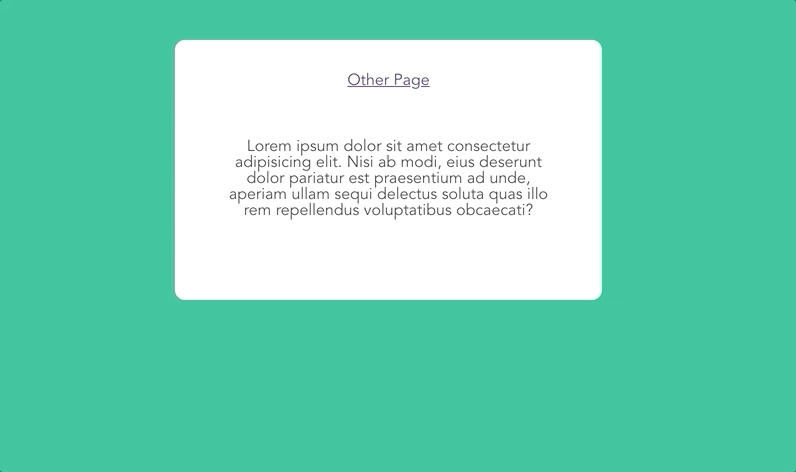
With some dummy components, here’s what our transition looks like.
Slide Vue Router Transitions
The next transition we’re going to build is a page slide transition.
The template will look like this. Since we want our enter and leave transitions to happen simultaneously, we don’t want to set a special mode for our transition.
<template>
  <router-view v-slot="{ Component }">
    <transition name="slide">
      <component :is="Component" />
    </transition>
  </router-view>
</template>
To make our example a little easier to see, I made each component of a width of 100% and a take up at least 1 vh. I also gave each a background color.
.wrapper {
  width: 100%;
  min-height: 100vh;
}
Finally, our transition style will animate the absolute position of our components to slide them in. If you want different slide directions, you just have to change which CSS properties you are setting (top, bottom, left, right).
.slide-enter-active,
.slide-leave-active {
  transition: all 0.75s ease-out;
}

.slide-enter-to {
  position: absolute;
  right: 0;
}

.slide-enter-from {
  position: absolute;
  right: -100%;
}

.slide-leave-to {
  position: absolute;
  left: -100%;
}

.slide-leave-from {
  position: absolute;
  left: 0;
}
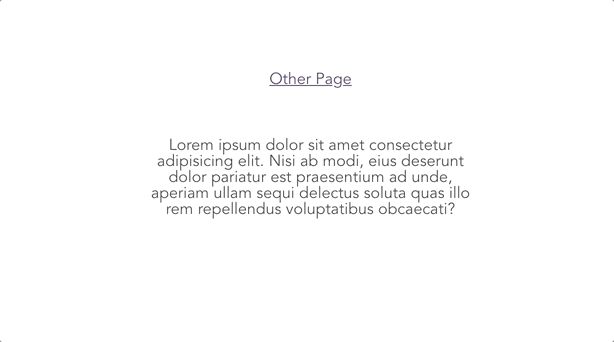
Here’s our final result.
Scale Vue Router Transitions
Creating a scale transition is pretty similar to our fade transition. Once again we want to set the mode to out-in so we can ensure the proper order of our animations.
<template>
  <router-view v-slot="{ Component }">
    <transition name="scale" mode="out-in">
      <component :is="Component" />
    </transition>
  </router-view>
</template>
Then, we want our style to change the opacity and transform: scale of our elements.
.scale-enter-active,
.scale-leave-active {
  transition: all 0.5s ease;
}

.scale-enter-from,
.scale-leave-to {
  opacity: 0;
  transform: scale(0.9);
}
One thing I noticed makes this transition look a little bit cleaner is to give your entire webpage a background color of black. You can do this by setting your html, body, or #app color to #000000.
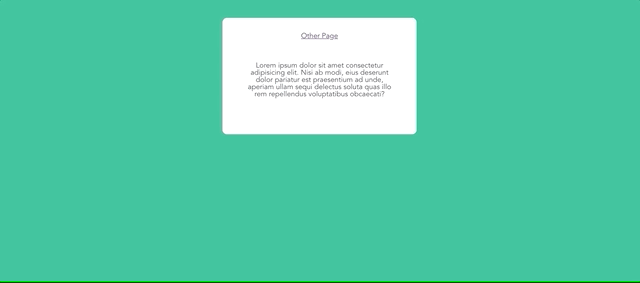
And here’s the finished scale transition.

Combining Vue Router Transitions
Of course – the possibilities are endless when it comes to creating transitions.
However, I think it’s important not to overdo transitions. They’re supposed to be small, subtle enhancements not major distractions in your app.
I think one great technique to make great transitions is to combine some of the more basics transitions.
For example, let’s combine the slide in and scale out into one transition.
<template>
  <router-view v-slot="{ Component }">
    <transition name="scale-slide">
      <component :is="Component" />
    </transition>
  </router-view>
</template>
<style>
.scale-slide-enter-active,
.scale-slide-leave-active {
  position: absolute;
  transition: all 0.85s ease;
}

.scale-slide-enter-from {
  left: -100%;
}

.scale-slide-enter-to {
  left: 0%;
}

.scale-slide-leave-from {
  transform: scale(1);
}

.scale-slide-leave-to {
  transform: scale(0.8);
}
</style>
Here’s our finished product!
I think it looks pretty good!
Conclusion
This is really only meant to give you an idea of how to start creating some amazing Vue Router Transitions and hopefully motivate you to start playing around on your own!
I’d love to see what you come up in the comments below.
Let me know if you have any questions!