Slots are another way in Vue for a component to inject content into a child component. This does this using template code.
In terms of final output, slots perform a similar function as props in Vue — getting data from a parent component to a child component. Slots are also helpful at creating reusable code.
However, whereas props pass data values to the component, slots can just pass direct template code. I think that this comes with a few benefits depending on the situation:
- Your child component is more reusable — you can pass it different components without worrying about a consistent format/data values
- It’s a lot more flexible — you don’t always have to fill every value whereas with props, you’d have to worry about checking if values exist using
v-if - This may be a personal thing, but I think the child component looks a lot more readable
I think the best way to wrap your head around slots is to just see an example of how to use them and what actually happens.
Vue Slots Overview
Starting off with slots is a typical use case in which we simply declare a slot in the child component and inject content using the parent component.
Let’s check it out. First, let’s setup a parent component called MyContainer.vue
vue
<template>
    <div>
        <my-button>Click Me!</my-button>
    </div>
</template>
Next, let’s setup a child component MyButton.vue component.
vue
<template>
   <div>
     <slot></slot>
   </div>
</template>
When, MyButton.vue renders, the <slot> will be replaced by Click Me! — the content from the parent.
You can pass any sort of template from the parent component, it doesn’t have to be just text. It can be a Font Awesome icon, image, or even another component.
Named Slots
The best way to organize a slot-based component system is to name your slots. This way you can make sure you’re injecting content into the right part of your component.
As you would expect, this is done by adding a name attribute to the slot in your child component. Then, to add content from the parent, you simply have to make another <template> element and pass the name in an attribute called v-slot
Let’s see this in action.
vue
<template>
    <div>
        <slot name="header"></slot>
        <slot name="content"></slot>
    </div>
</template>
Then a parent component.
vue
<template>
  <div>
    <box-element>
      <template v-slot:header>
        This will be injected as the header slot.
      </template>
      <template v-slot:content>
        This will be the content of the element
      </template>
    </box-element>
  </div>
</template>
Note: if a slot is not named. It will just have the name of default
Named slots are useful when creating a component that requires multiple slots.
For example, let’s say we want to create an Article.vue component, we might want separate slots for the header, main content area, and comments.
With three different areas, we need a way to differentiate between them or else when we try to inject content from our parent component, our Vue app will have no clue which slot we’re trying to target.
This is where named slots become super useful.
So, as we’ve discussed, named slots can help you use multiple slots. But why is this even useful for us Vue developers?
Simply put, it allows us better organize our code for development and also allows us to write more scalable code.
By separating out distinct sections entire their own slots, we can easily see where each part of our final app is being added into the DOM.
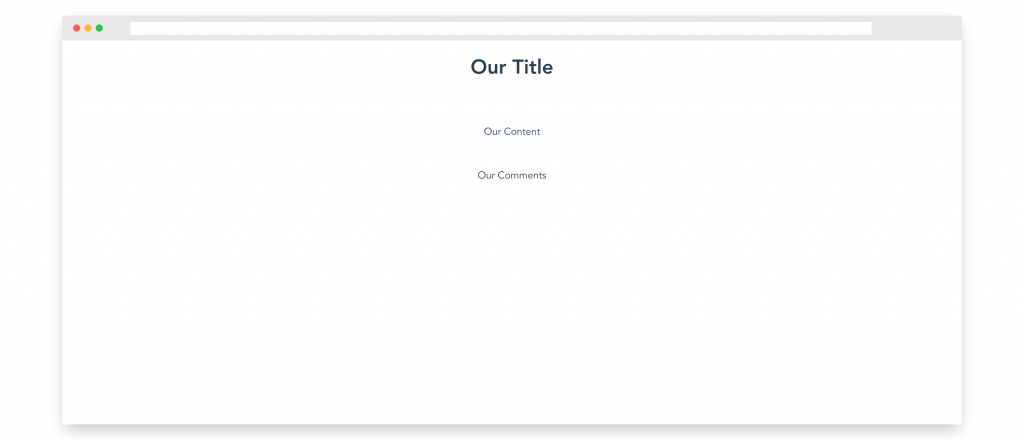
Personally, I think the greatest part is that it allows us to use slots over the code, making styling things so much easier. In our example, our Article.vue child component only had three slots, but in a real app, the slots would look something more like this so that our component can add CSS styles to each section.
vue
<template>
<div>
<div class="title">
<h1>
<slot name="title"> Fallback Title </slot>
</h1>
</div>
<div class="content">
<p>
<slot name="content"> Fallback Content </slot>
</p>
</div>
<div class="comments">
<slot name="comments"> Fallback Comments </slot>
</div>
</div>
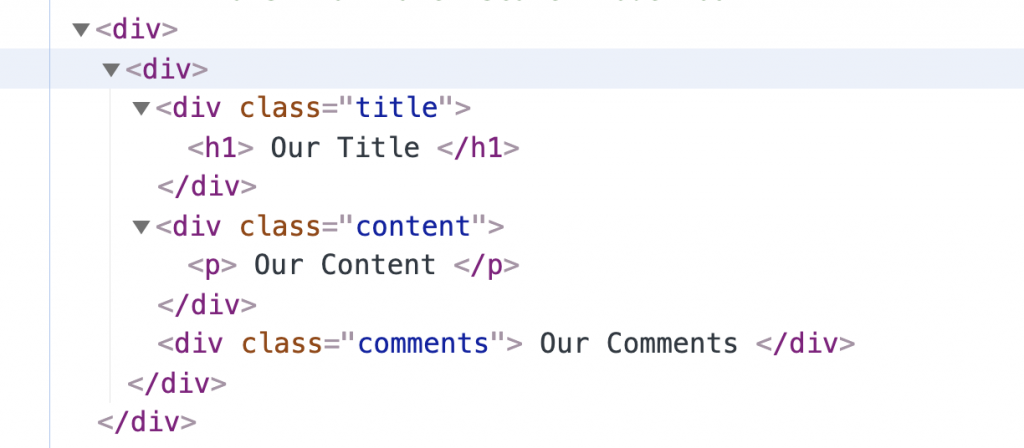
</template>In this example, it’s much easier to see why we would need multiple slots. Since our injected content is separated from each other by different <div>, <p>, and DOM elements. It’s impossible to pass all of this information in a single slot.
Here’s an example of what our final components might look like in the browser.
If we check our DOM, we can see that template using v-slot is properly inserting content in the right places.
All of this means that if we want to use slots in this component, we’re going to need more than one.
How to Use Named Slots
There are two steps to using named slots in Vue:
- Naming our slots from our child component using the
nameattribute - Providing content to these named slots from our parent component using the
v-slotdirective
By default, when we don’t give our slot an explicit name attribute, like in the examples above, it has the name of default.
To give our slot a name, <slot> elements have a special name attribute, that let us differentiate between multiple slots.
In our Article.vue example, we can name our three slots like this.
vue
<template>
  <div>
    <slot name="title"> Fallback Title </slot>
    <slot name="content"> Fallback Content </slot>
    <slot name="comments"> Fallback Comments </slot>
  </div>
</template>
Then, in our parent component, we can specify which slot we want to inject content into using the v-slot directive on a <template> element.
So wherever we declare our component with Vue named slots, we can create three <template> elements, one for each of our slots.
vue
<template>
<div>
<child-component>
<template> Our Title </template>
<template> Our Content </template>
<template> Our Comments </template>
</child-component>
</div>
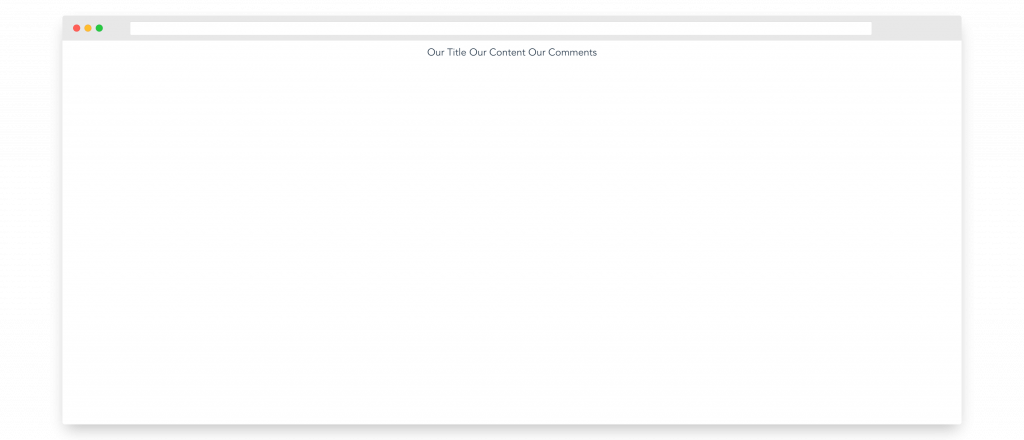
</template>If we save and take a look at this, you’ll see that there we still see our fallback content

And that’s because our templates are not currently targeting any of our actual defined slots!
To fix this, using the v-slot directive, we’ll pass in the name of each slot like this, making sure that the name matches exactly what we declared in our child component.
vue
<template>
  <div>
    <child-component>
      <template v-slot:title> Our Title </template>
      <template v-slot:content> Our Content </template>
      <template v-slot:comments> Our Comments </template>
    </child-component>
  </div>
</template>
Now, we’ll actually see our content being injected into each of the slots.
And honestly that’s it! I know, it’s really that easy to use named slots in your code.
Scoped Slots
Let’s take a look at another example, say we have an ArticleHeader component that contains some article info in its component data.
vue
<template>
<div>
<slot v-bind:info="info"> {{ info.title }} </slot>
</div>
</template>
<script>
export default {
data() {
return {
info: {
title: 'title',
description: 'description',
},
}
},
}
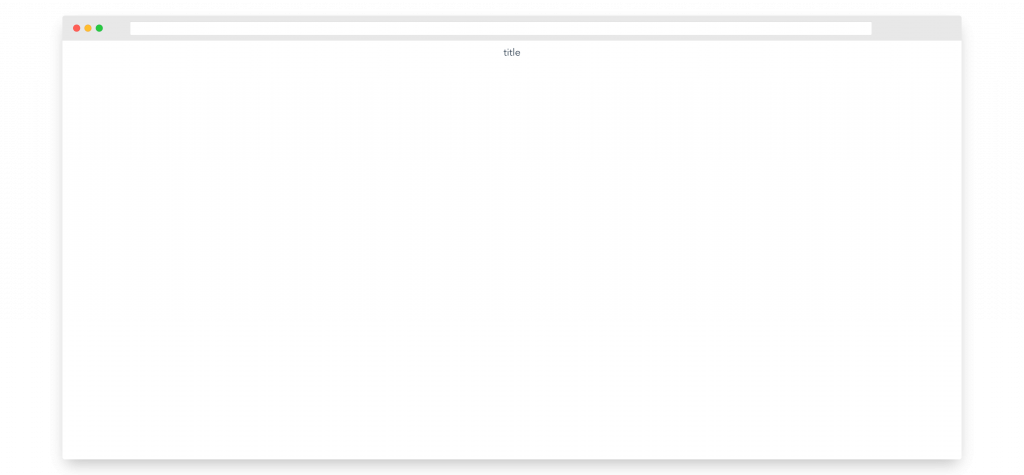
</script>If we take a closer look at the slot, we’ll see that the fallback content renders the info.title of our article.
Without changing the default fallback content, we can easily implement this component like this.
vue
<template>
  <div>
    <article-header />
  </div>
</template>
And if we look in our browser, our app will be showing the title.
While we could easily change the content of our slot by adding a template expression into our slot, what happens if we want to render the info.description from our child component.
It may seem like all you have to do is add it into our slot..
vue
<template>
  <div>
    <article-header>
        {{ info.description }}
    </article-header>
  </div>
</template>
But if we run this, we get an error: TypeError: Cannot read property ‘description’ of undefined
And that’s because our parent component has no clue what this info object is.
So how do we solve this?
Using Vue Scoped Slots
Simply put, scoped slots allow our slot content in our parent component to have access to data that’s only found in the child component. For example, we can use a scoped slot to give our parent component access to info.
There are two steps we need to do this:
- Make info available to the slot content using
v-bind - Use
v-slotin our parent scope to access the slot props.
First, to make info available to the parent, we can bind our info object as an attribute on our slot. These bounded attributes are called slot props.
The code for that is as easy as this.
vue
<template>
    <div>
        <slot v-bind:info="info"> {{ info.title }} </slot>
    </div>
</template>
Then, in our parent component, we can access all of our slot props using <template> together with the v-slot directive.
vue
<template>
    <div>
        <child-component>
            <template v-slot="article"> </template>
        </child-component>
    </div>
</template>
Now, all of our slot props, which for our example, is only info will be available as a property on our article object, and we can easily change our slot to show our description.
vue
<template>
    <div>
        <child-component>
            <template v-slot="article">
                {{ article.info.description }}
            </template>
        </child-component>
    </div>
</template>
Our final product will then look like this.
Awesome!
Reusability with slots
Props are a great way to reuse components, but they have their limitations depending on your use case. Props tend to work best in components that have the same format and content, but just different values.
Sometimes you need to make your components a little more flexible and adaptible: maybe you want some components to have certain sections while depending on the what page it’s on, you want to remove other sections.
By injecting your content using slots, it makes it easier to switch around the content of a component without having to worry about using template logic like v-if and v-else to handle rendering.
Conclusion
While Vue slots are a pretty simple concept, it’s super powerful in designing amazing components.
I hope this article helped you get a basic idea of how Vue slots work.